[Docker] Getting Started with Docker: create, exec, start, run, commit
Starting with Docker
Let’s begin with Docker by going over its concepts one by one.
Installing Docker
Follow this link to install Docker suitable for your operating system.
Getting Docker Image
To run Docker, you can try out many images available on Docker Hub. Let’s check out a Python image just for trial.
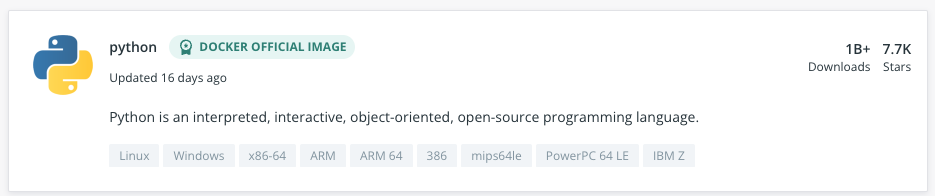
▲ Searching for
pythonon Docker Hub
Open a terminal and enter docker pull python to get the latest Python image.
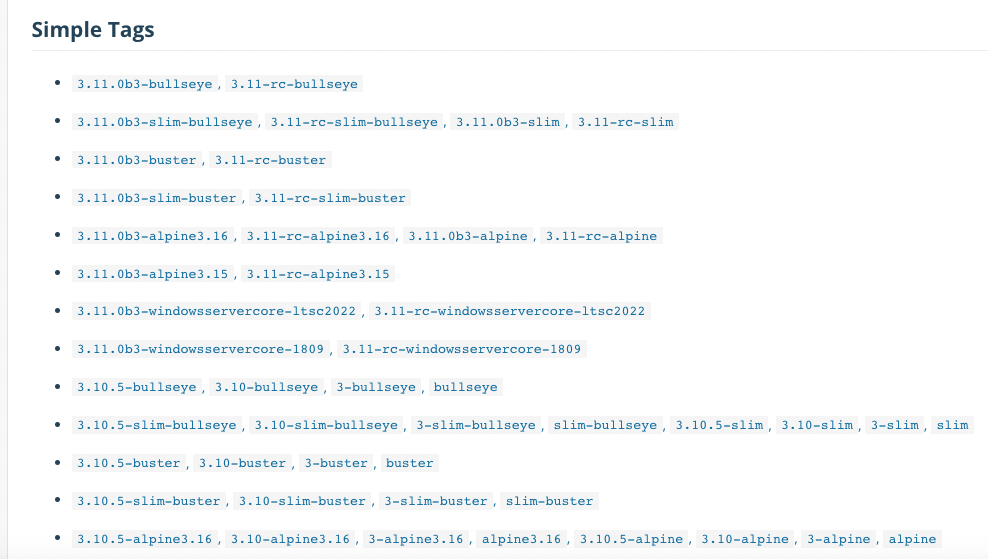
If your service requires a specific version of Python, you can find the tag and install that specific version of Python. Example)
docker pull python:3.8.13
Docker Container Status
To understand the following commands, it’s necessary to understand the statuses of a Docker container.
Just like any typical process, Docker containers have various status values.
Descriptions for each status value are as follows.
1. Created
When a container has been created but not used, this status is assigned.
It doesn’t consume CPU or memory of the Host OS.
2. Running
Literally means that the container is currently running. This status means that the process inside the container is running independently of the environment (Host OS).
3. Restarting
This status means, as it says, the container is in the process of restarting.
You can define actions for restarting via options --restart=[RESTART_POLICY] in docker run command.
RESTART_POLICYno: Do not restart (default)on-failure: Restart if not terminated normally (not exited with code 0)always: Always restart when the process endsunless-stopped: Restart the container unless explicitly stopped or if Docker itself stops or restarts.
4. Exited
This status is assigned when the internal process has ended. Like the Created status, it doesn’t consume CPU, memory.
Common reasons why a container enters Exited status are as follows:
- The internal process is complete.
- An exception occurs during the execution of the internal process.
- Intentionally terminated via
docker’sstopcommand. - An interactive terminal is not set up in a container running
bash.
5. Paused
Indicates a state where all processes are suspended indefinitely.
You can pause a specific container in Docker using docker pause command.
6. Dead
This status appears when you’re trying to remove a container but a specific resource is in use by an external process.
Containers in this status cannot be restarted; they can only be removed.
Creating a Container: create
Using the received image, you can create a container using the create command.
Usage
The usage is as follows.
$ docker create [OPTIONS] IMAGE [COMMAND] [ARG...]Commonly Used Options
If you want to see all options for Docker’s create command, refer to this page.
--name [CONTAINER_NAME]
Used to name the container to be run.
$ docker ps -a

CONTAINER ID   IMAGE                    COMMAND                  CREATED              STATUS                  PORTS                    NAMES
d4a0d00c26f9   docker/getting-started   "/docker-entrypoint.…"   21 seconds ago       Created                                          hello
000e821c8396   docker/getting-started   "/docker-entrypoint.…"   About a minute ago   Up About a minute       0.0.0.0:80->80/tcp       admiring_jemison
To view all containers created by docker, enter docker ps -a.
The container’s name is shown in the rightmost column, and the container named hello has the name set.
For containers with names set, the image name is set as the container name during future builds.
--publish, -p [HOST_PORT]:[CONTAINER_PORT]
This option requires a basic understanding of port forwarding.
Port forwarding in Docker means that requests to the Host OS’s Port are replaced and received by the Container’s Port.
If you set it as -p 80:8000, requests to Port 80 of the host OS will be forwarded to Port 8000 of the container.
Setting it as above won’t work with the internet, as Port 80 is the internet port.
--tty, -t
Enables TTY mode. Just like when an SSH connection succeeds, the default terminal is opened automatically; setting this option allows you to run the container with an open terminal.
By default, the terminal requires keyboard input, so it is typically used with the -i option mentioned above.
--interactive, -i
Enables standard input (STDIN) even if the container is not attached.
--volume, -v [VOLUME_NAME]:[REMOTE_PATH]
Binds a docker volume to the path of a container.
Just think ‘Oh, it’s connecting a storage~’ for now.
This requires understanding of Docker Volume, and a similar concept will be learned later through comparison.
--workdir, -w [WORKDIR_PATH]
Specifies the directory where the processes inside the container will be executed. The set Working Directory becomes the initial entry point.
--env, -e [KEY=VALUE]
Sets environment variables for the container. It is usually used to deliver configuration values or passwords to the container.
As functions to access OS environment variables are specified in almost all languages, you can appropriately hide configuration settings upon deployment using this option.
Combining Options
For options using a single hyphen (-), you can mix several options together.
# Example
$ docker run --name test -it debian
Starting a Container: start
The created container is not yet in a running state. To run the container, you can use this command.
Usage
docker start [OPTION] CONTAINER_NAME_OR_IDExecuting Commands on a Running Container: exec
Using exec, you can send commands to a running container.
It is primarily used to run the terminal of a running container.
(This can be used somewhat like SSH.)
A notable feature is that commands executed via exec do not affect the progress of the main process.
Usage
The usage is as follows.
$ docker exec [OPTIONS] CONTAINER COMMAND [ARG...]Commonly Used Options
If you want to see all options for Docker’s exec command, refer to this page.
--detach , -d
Sends the command to the container in the background.
--interactive, -i
Enables standard input (STDIN) even if the container is not attached.
--tty, -t
Enables TTY mode. Like when an SSH connection is successful, it allows running a container with the terminal open.
By default, the terminal requires keyboard input, so it’s commonly used with the -i option mentioned above.
--workdir, -w [WORKDIR_PATH]
Specifies the directory where the processes inside the container will be executed. The set Working Directory becomes the initial entry point.
--env, -e [KEY=VALUE]
Sets environment variables for the container, commonly used to deliver configuration values or passwords to the container.
As functions to access OS environment variables exist in almost all languages, you can appropriately hide configuration settings upon deployment using this option.
Combining Options
For options using a single hyphen (-), you can mix several options together.
# Example
$ docker exec -it test /bin/bash
Creating and Running a Container: run
The received image can be executed using the run command.
Specifically, the
runcommand creates a container (create) and then runs it (start).
Usage
The usage is as follows.
$ docker run [OPTIONS] IMAGE [COMMAND] [ARG...]Commonly Used Options
If you want to see all options for Docker’s run command, refer to this page.
Previous sections (create, start) dealt with commands for creation and execution, specifying frequently used options.
Since run is a command that combines create and start, it can use all the options available in each command.
--detach, -d
A container set with this option runs as a background process on the Host OS and returns the running container ID.
Combining Options
For options using a single hyphen (-), you can mix several options together.
# Example
$ docker run --name test -it debian
From Container to Image: commit
It’s good to operate the container as you set it. Your service should now operate independently.
However, the fundamental issue explained in Chapter 1 hasn’t been resolved yet.
When a person for handover arrives, although they can use your container, fundamentally, a container is not in a distributable form.
The commit command converts the running container into an image form.
It becomes a form usable by anyone.
The fundamental command for converting a container into an image is as follows, and the container is stored in your Local Images.
Usage
Here is the basic usage:
$ docker commit [OPTION] CONTAINER_NAME_OR_ID IMAGE_NAMEWhen you check the image later, you will see that the newly created image is stored locally.
$ docker commit test test
95221529517f...
$ docker images
REPOSITORY               TAG       IMAGE ID       CREATED          SIZE
test                     latest    95221529517f   3 seconds ago    118MB
A Question
While storing the image locally is confirmed, can we say it has been “shared”?
My image hasn’t yet been transferred to others.
While using commands like docker export, docker save to make images or containers as tar format and deliver them is possible, let’s explore a smarter approach.
Through Docker Repository, indeed.
Docker Repository
If you are a developer, you might have come across the term Repository at least once.
Those who have developed websites using Spring might have seen it in Spring’s Annotation, and most developers might have used platforms like Github, Gitlab for version control of their source codes.
In any context, Repository is used with the meaning of a storage space. Although the storage could be a Local one used solely by oneself, it could also be a Remote one for sharing purposes.
Docker has allowed sharing created repositories like Github.
Perhaps observant folks might have already realized,
Yes, as you guessed, the name of this Repository is Docker Hub.
Creating Your Own Repository
Creating your own Repository isn’t much different from creating one on Github.
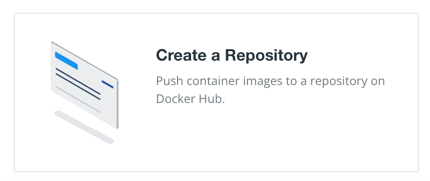
First, click on Create a Repository on Docker Hub.

In the following screen, you can enter the details regarding your Repository.
You can also set it as a publicly shared repository (Public) or limit access only to allowed people (Private), just like on Github.
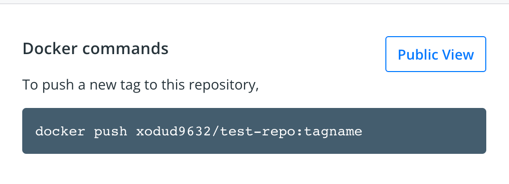
Once the Repository is created, it notifies you that push is possible through commands like the one shown on the side.
Those who have used Github might find the keyword
pushfamiliar. Yes, it’s precisely thatpushyou are thinking of.
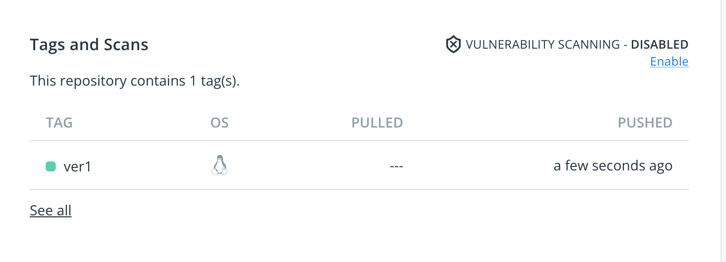
Tag
You can see a prompt to enter a tag name in the photo.
This is generally created at the time of the commit and is common to write down the version.
As in the beginning, where we fetched a specific Python version image via a command such as docker pull python:3.8,
The string following the colon (:) denotes the tag name.
Usage
Though the usage was noted above, it is limited to local usage.
According to the official Docker documentation, the usage of commit is as follows:
$ docker commit [OPTIONS] CONTAINER [REPOSITORY[:TAG]]Indeed, the image name matches the Repository name.
From the term commit, if one sees the implication, it signifies it hasn’t been deployed yet.
It precisely matches the prior scenario.
Available Options
--message, -m [MESSAGE]
It resembles a typical Git Commit Message.
This option allows inserting a message at the moment of commit creation.
--author, -a [AUTHOR]
Records the image creator’s details.
--change, -c
If creating a container via Dockerfile and making commits, this option is utilized.
Dockerfile will be covered in the next chapter.
Similar Command: build
Besides creating a snapshot from the container via the commit command as seen above, an additional command build exists for creating images.
However, understanding a Dockerfile is necessary, so we’ll cover Dockerfile in the next chapter.
Sharing the Created Image in a Repository: push
Now is the final step. Push the created image to your Repository.
Usage
The usage is as follows.
$ docker push [OPTIONS] NAME[:TAG]Here NAME[:TAG] matches [REPOSITORY[:TAG]] used when creating with commit.
$ docker push xodud9632/test-repo:ver1
The push refers to repository [docker.io/xodud9632/test-repo]
27d8bf01e7ea: Mounted from library/debian
ver1: digest: sha256:ef143c422f108a12a93c202078d2d9e8c2966e9479b74f6662af9e32bb05ad73 size: 529
Execution will showcase a message like above,
and it’s confirmed to have been applied to the Repository as well.
Error: repository does not exist or may require 'docker login'
If an error message like the one above occurs, it indicates that you are not logged into the Docker CLI.
$ docker loginBy entering the above command and inputting your ID and password to login, you’ll find everything runs smoothly.
Reference
- Official Docker Documentation
- Blogs